Craft A Quilted Fabric Heart Coaster | DIY Sewing Tutorial
These sweet little fabric coasters are the perfect pieces to complete your Valentine’s Day tablescape. You can sew up a few of these in a matter of minutes.
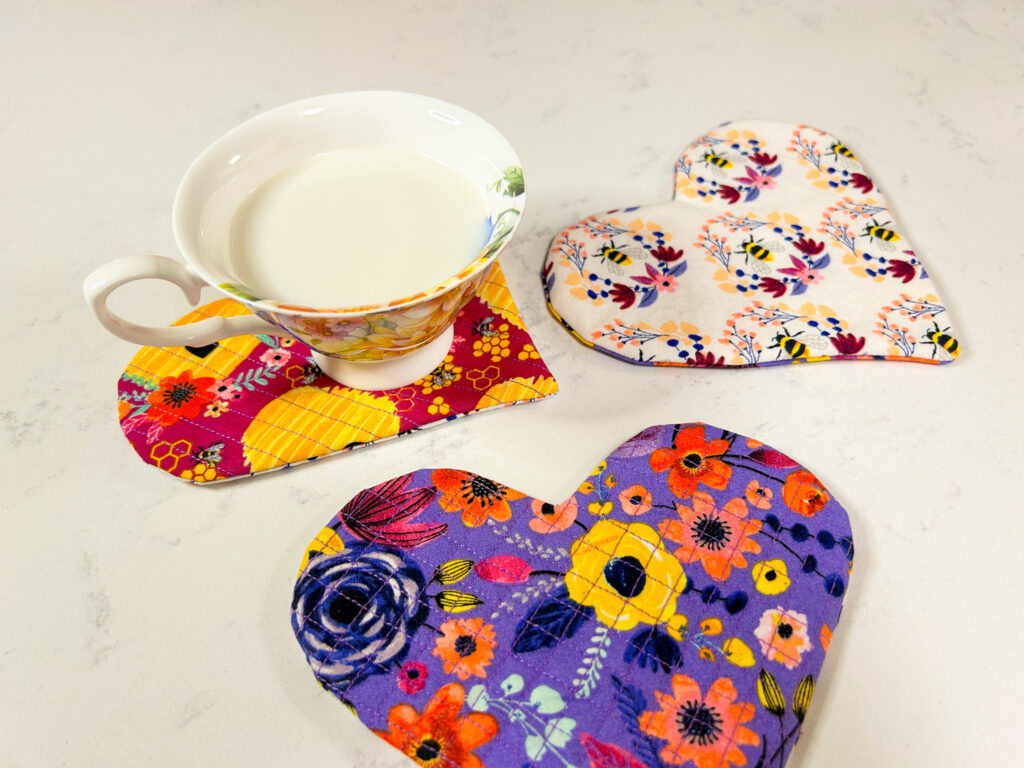
This heart-shaped coaster is a great project for advanced beginner sewists and experts alike. I’ll show you two ways to make this coaster: both quilted and not quilted. Whip up this darling DIY project and add a romantic touch to your table settings today.
Materials You’ll Need
GRAB YOUR SUPPLIES
the raw materials
- Fat quarter of fabric (21 by 18″) of medium-weight cotton fabric & matching thread
- Cotton batting
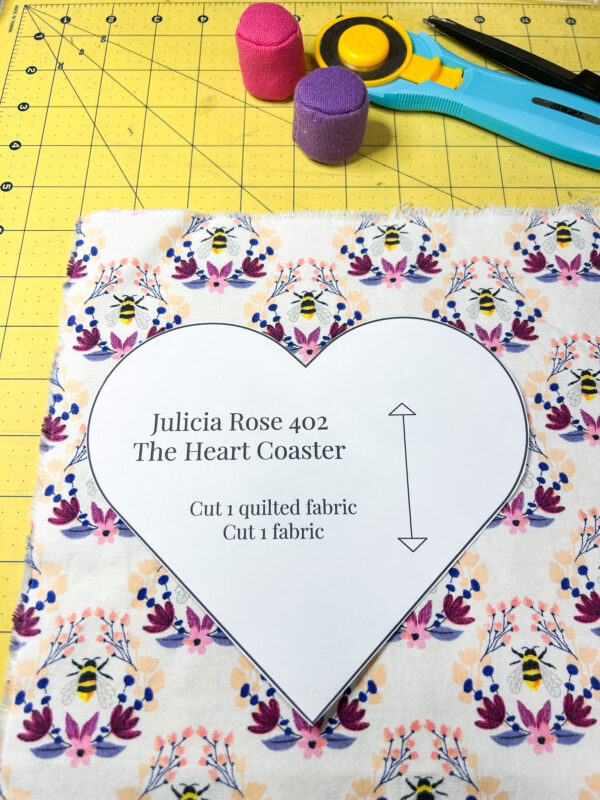
- My free heart coaster pattern
sewing notions
- Scissors
- Rotary cutter & cutting mat
- Pins
- Iron & pressing mat/ironing board
- Point turner (optional but very helpful)
- Clear ruler
- Sewing machine
This post has affiliate links. If you make a purchase, I may earn a small commission at no additional cost to you. Thank you for supporting my blog! Click here to read my full disclosure policy.
Seam allowance is 1/4” unless stated otherwise.
Step by Step Instructions for the Quilted Heart Coaster
Step 1: Cut an 8.5” by 8.5” square of fabric.
Step 2: Cut an 8.5” by 8.5” square of cotton batting.
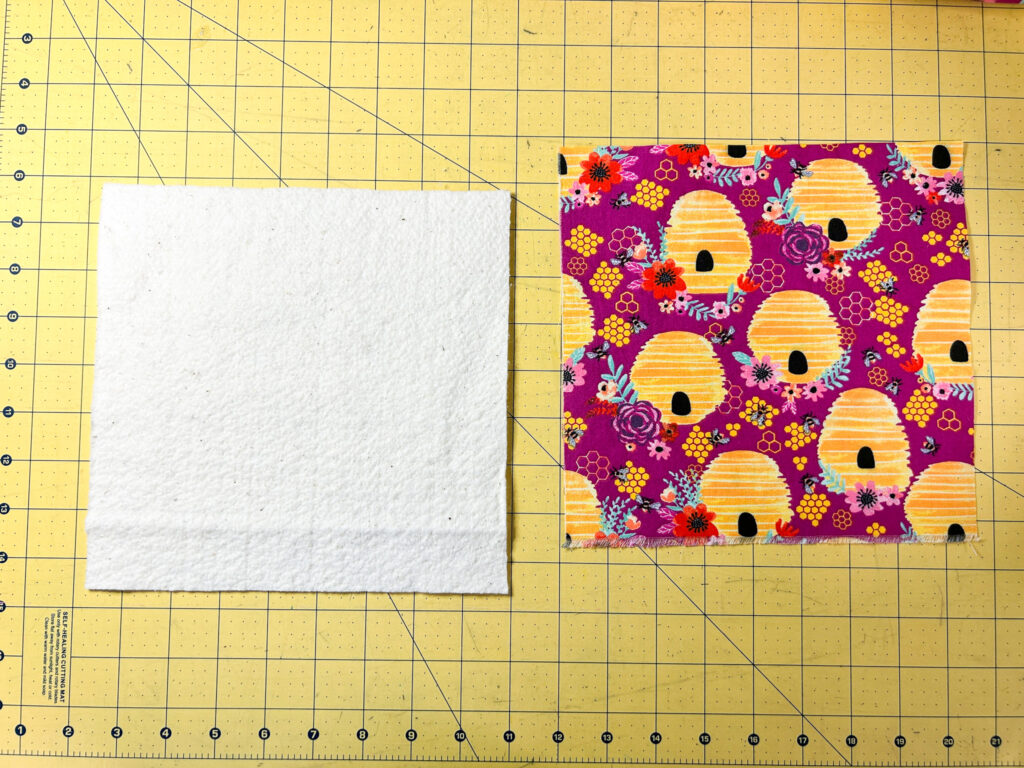
An 8.5″ by 8.5″ square of fabric next to an 8.5″ by 8.5″ square of cotton batting
Step 3: Place the fabric, right side up, atop the cotton batting. Press.


Step 4: Quilt these two pieces together. For one square, I stitched vertical lines about 1/4” apart. For another square, I stitched criss-cross lines about 1/4” apart.


I quilted my first square by stitching vertical lines about 1/4″ apart. I used my pressure foot as a guide, lining it up with the last stitch I made.
Note
Would you like to quilt precise criss-cross lines? Use a piece of masking tape to create a diagonal line on your fabric. Slowly stitch next to this tape. Remove the tape. Now, using your pressure foot as a guide, stitch a straight line parallel to this stitch. Repeat. For the intersecting lines, repeat the process – tape in a diagonal line, stitch next to the tape, remove the tape, and continue stitching parallel lines.


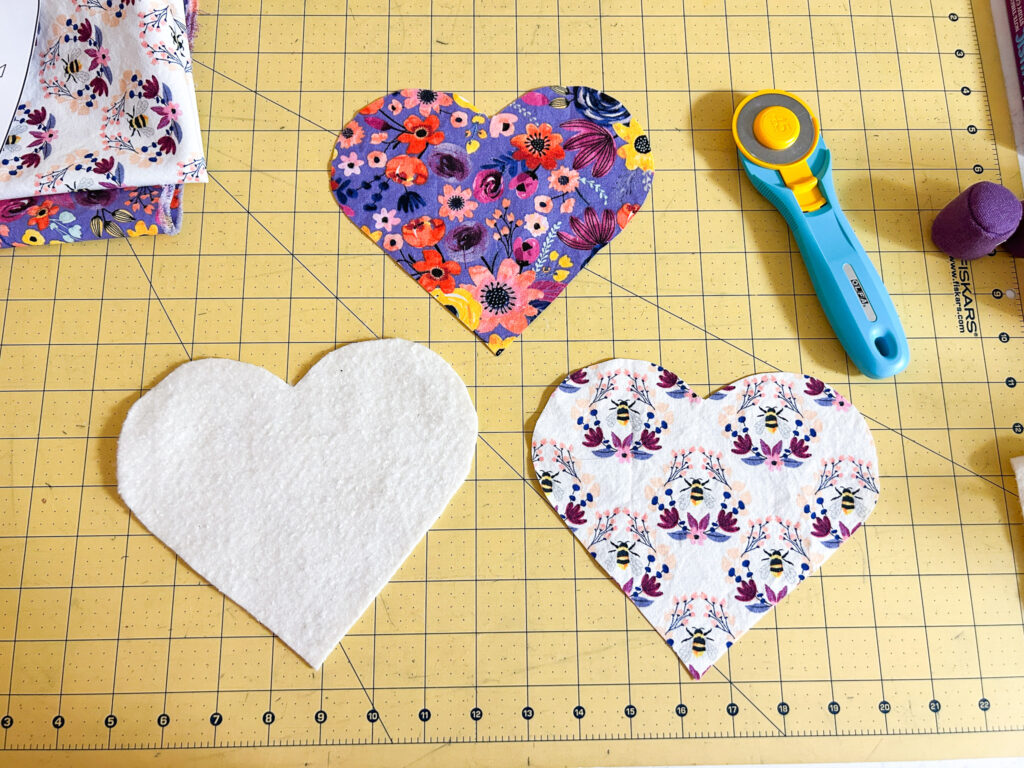
Step 5: Press. Place your heart pattern atop your quilted square and cut it out. You now have what will be the front side of your coaster all cut out.


Step 6: Next, let’s cut out the back side of your coaster. Your backing fabric can be the same fabric or a different fabric, if you’d like reversible coasters. I chose to use a different fabric. Place your heart pattern atop your backing fabric, and cut it out.
Step 7: Place the hearts right sides together, lining them up at the inner corner of the heart and the pointed end. Pin.
tip
getting the perfect 1/4″ seam
It can be tricky to sew an even 1/4″ seam given how curvy a heart is. I recommend that you take a clear ruler and draw out the seam with pencil before you take your coaster to the sewing machine. Although this adds an extra step, you’ll get more precise seams and a crisper heart silhouette at the end.
Step 8: Using a 1/4” seam allowance, sew right sides together, leaving a 1.5”-2” opening on the straight edge of the heart. This will make it possible for you to turn the heart inside out.

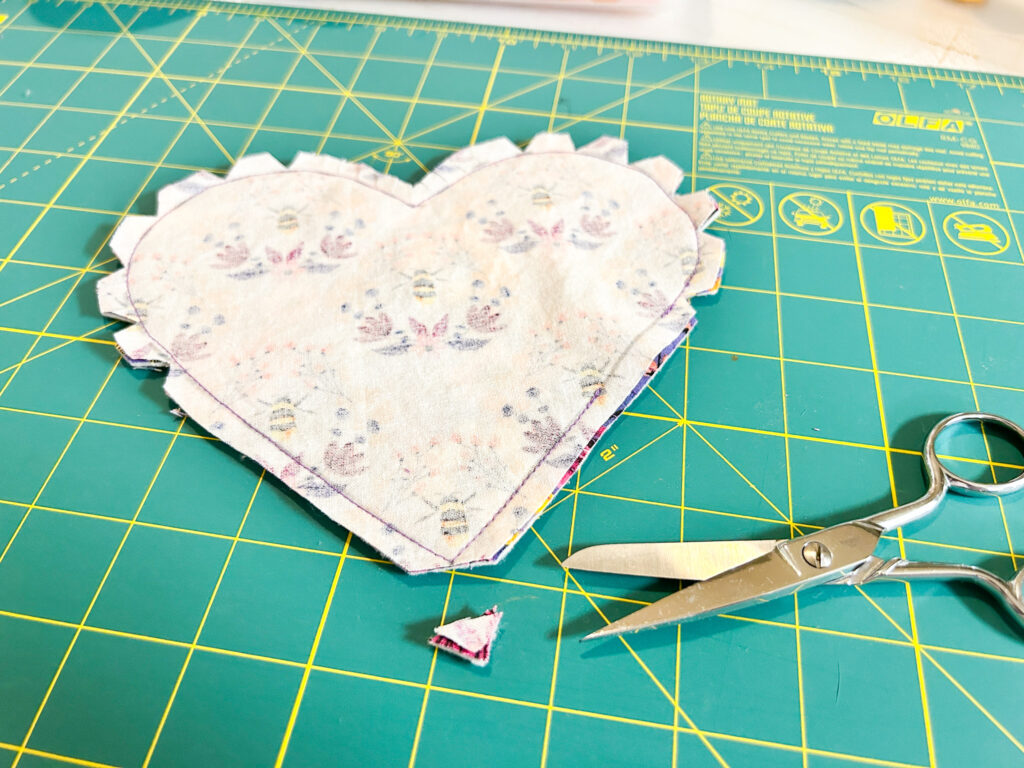
Step 9: Before turning your heart inside out, snip any loose threads. Notch any convex (outward) curves and clip any inward (concave) curves. This will reduce bulk.
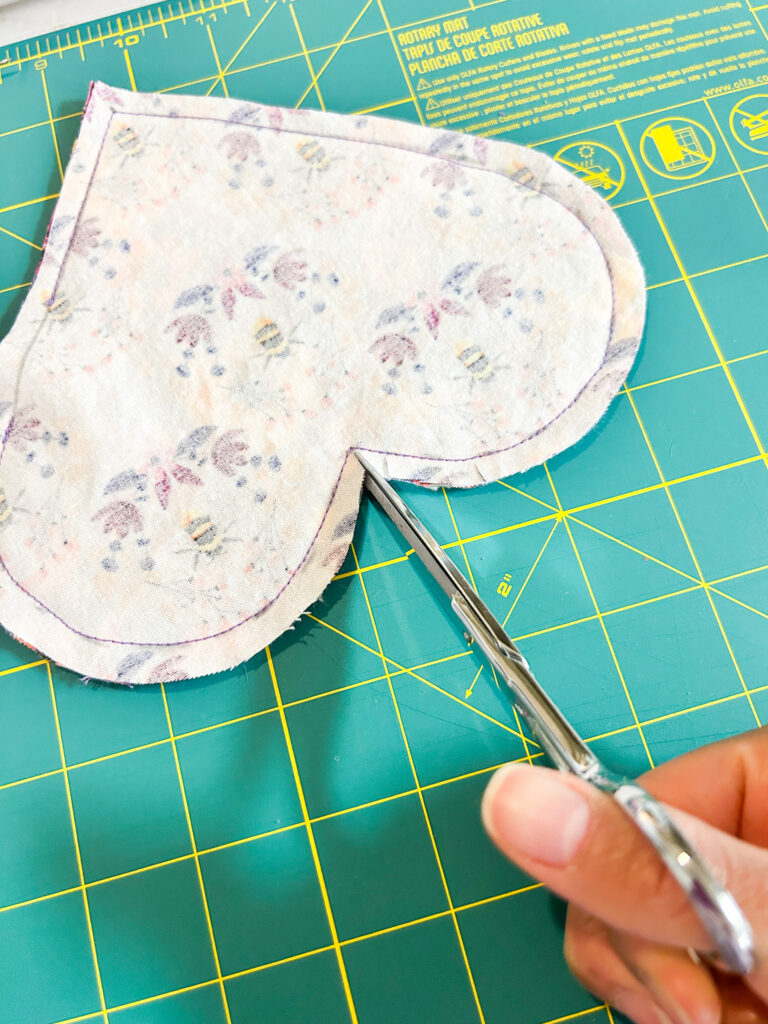


Step 10: Trim about half of the seam allowance away. Snip off as close as you can to the pointy end of the heart, being careful not to cut through any stitching. As with step 9, this reduces bulk and will make it easier for the heart to lay flat when you turn it inside out.


Step 11: Turn your heart coaster inside out. You may want to use a point turner tool to make sure you get those edges turned inside out. Press carefully, making sure you get crisp seams.
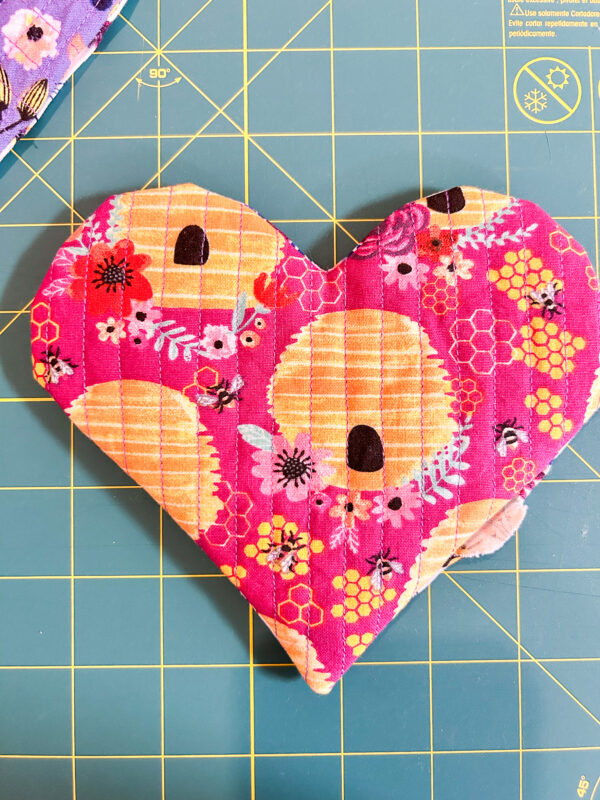
Step 12: You can hand sew the opening shut with a slip stitch, or machine stitch with a straight stitch. Give it a final press, and you’re done!


Step by Step Instructions for a Heart Coaster Without Quilting
Step 1: Using the heart coaster pattern, cut two fabric hearts and one cotton batting heart.
Step 2: Now, we’re going to make a sandwich: Place the fabric hearts right sides together. Then, place the cotton batting on top. Pin, lining the hearts up at the inner corner of the heart.


Step 3: Follow steps 8 through 12 above for the “Step by Step Instructions for the Quilted Heart Coaster.”
Congratulations!
You just made a beautiful heart coaster. Well done!
Enjoy using your cozy heart coasters this Valentine’s Day and beyond. Use them on your dining room table, gift them to friends and family, or surprise your sweetheart with a special tablescape for date night.
ready to learn more?
Click below to take my Scrunchie Sewing Masterclass!
Did you make this craft?
I would love to see or hear about what you created. Comment below or email me a photo at [email protected] so I can see your creations!